Rubber Tiles Installation: Step-by-Step Guide
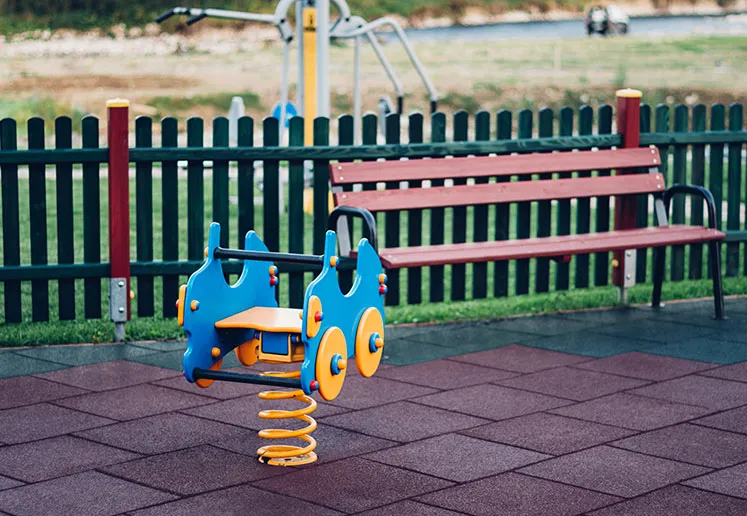
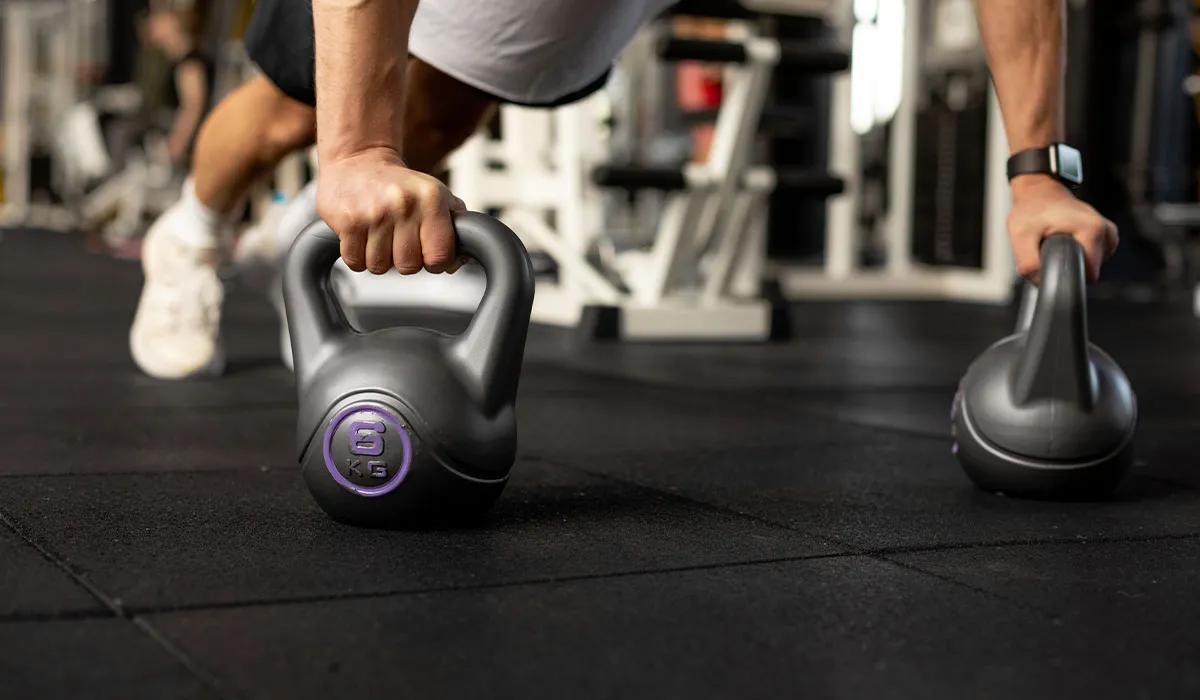
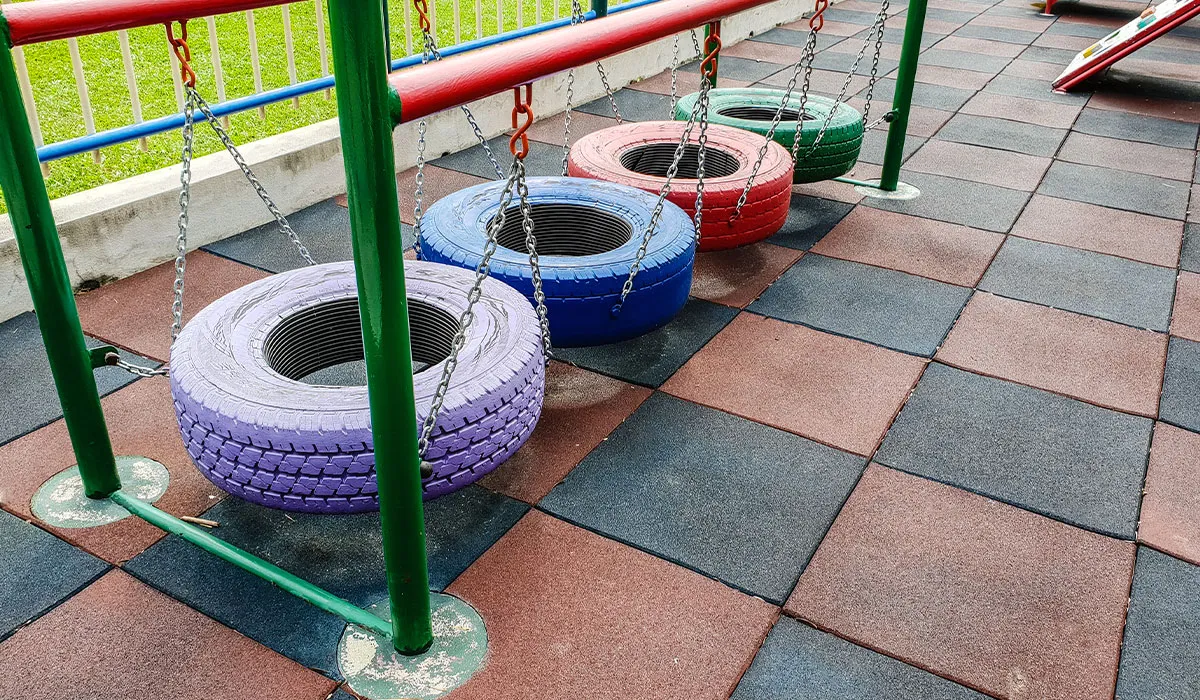
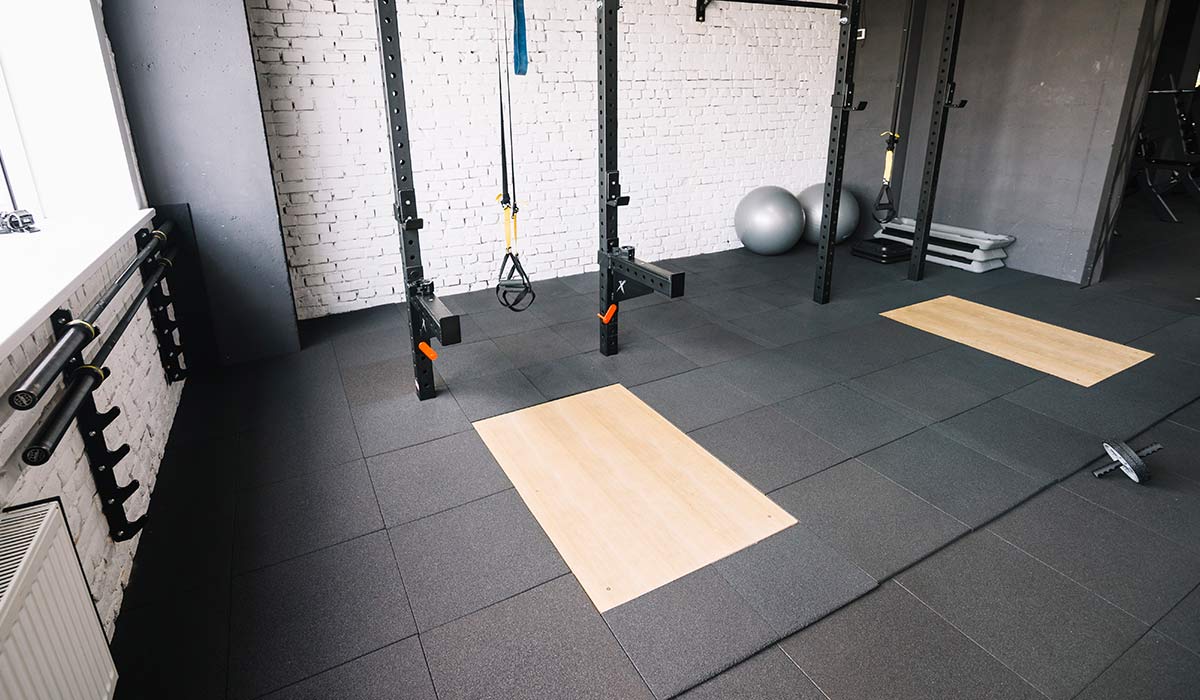
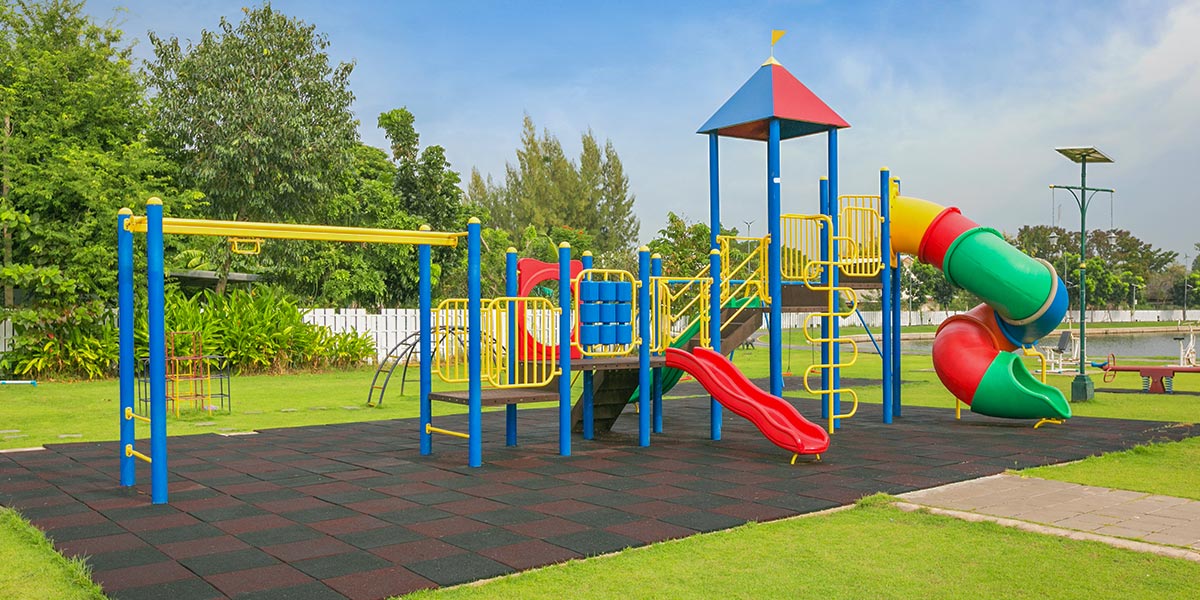
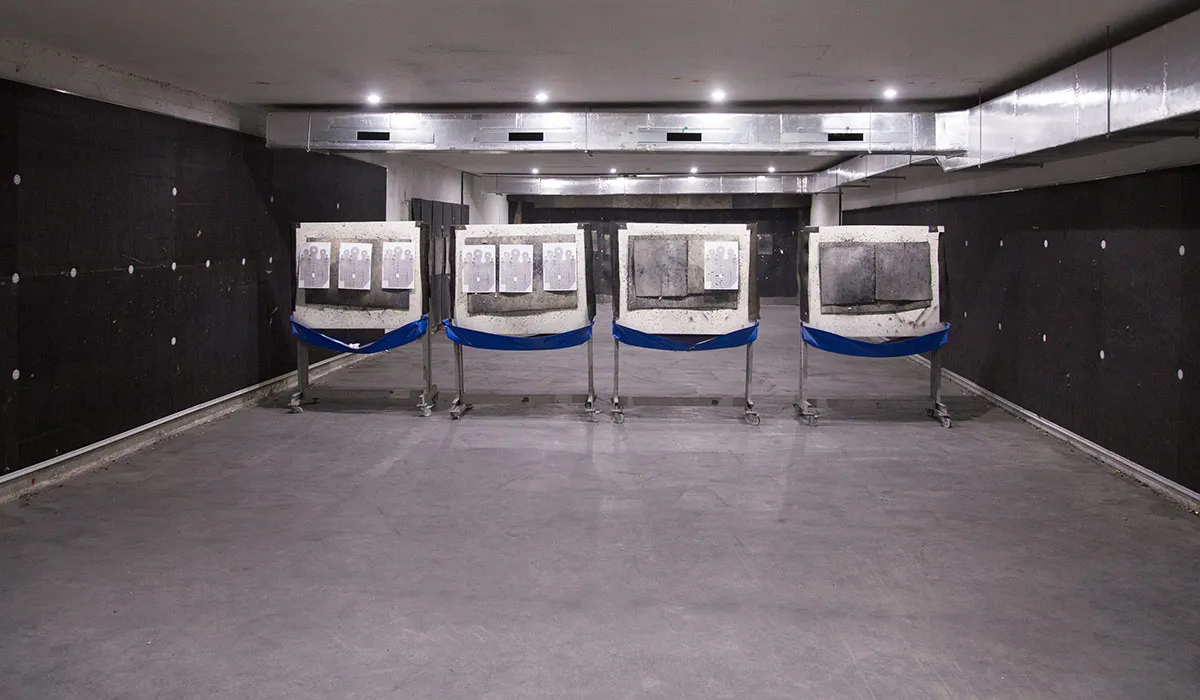
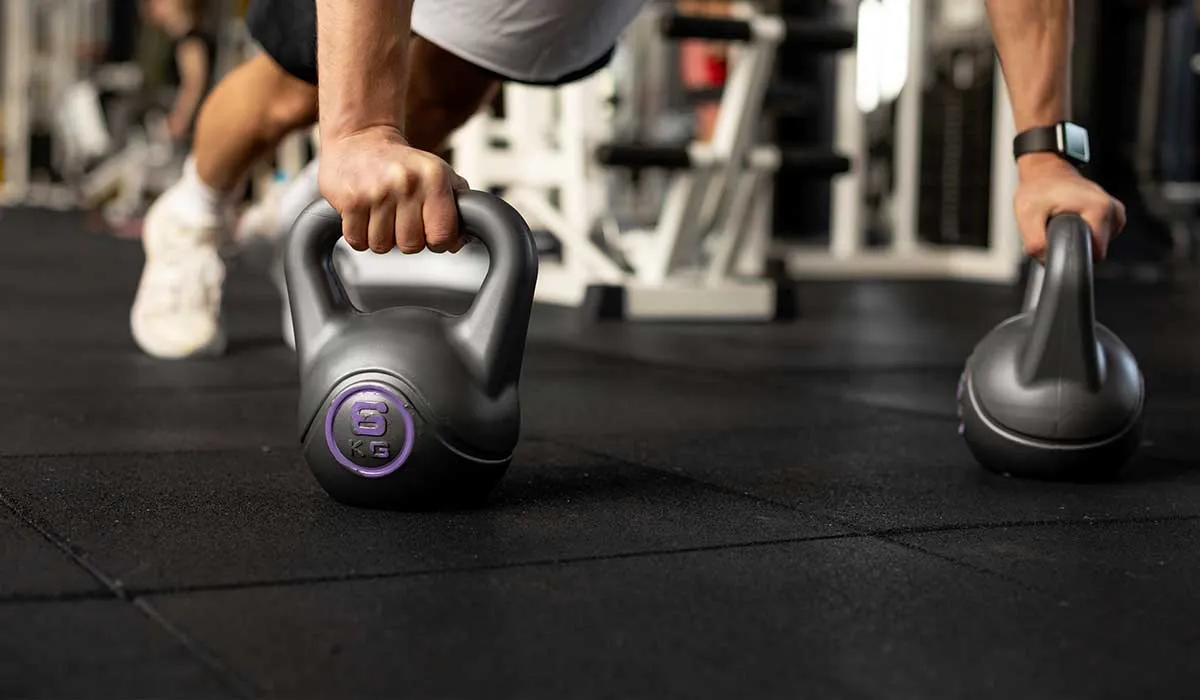
Rubber tiles are an excellent flooring solution known for their durability, non-slip surfaces, and easy maintenance. These tiles can be used both indoors and outdoors, making them ideal for places like playgrounds, gyms, and gardens. In this article, we provide a step-by-step guide to installing rubber tiles.
Preparation and Planning
Before beginning the installation of rubber tiles, careful preparation and planning are essential. Proper planning ensures a smooth and efficient installation process.
- Measuring the Area: The first step is to carefully measure the area where the rubber tiles will be installed. This will help determine how many tiles you will need. Measure the length and width of the area to calculate the total space.
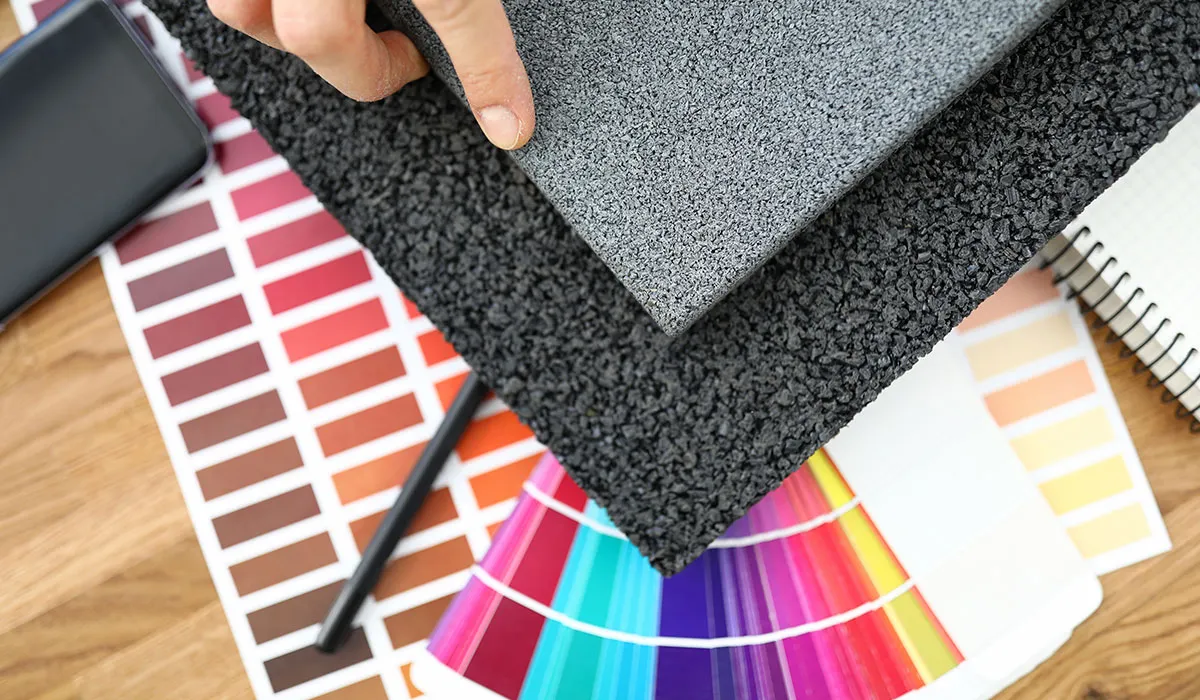
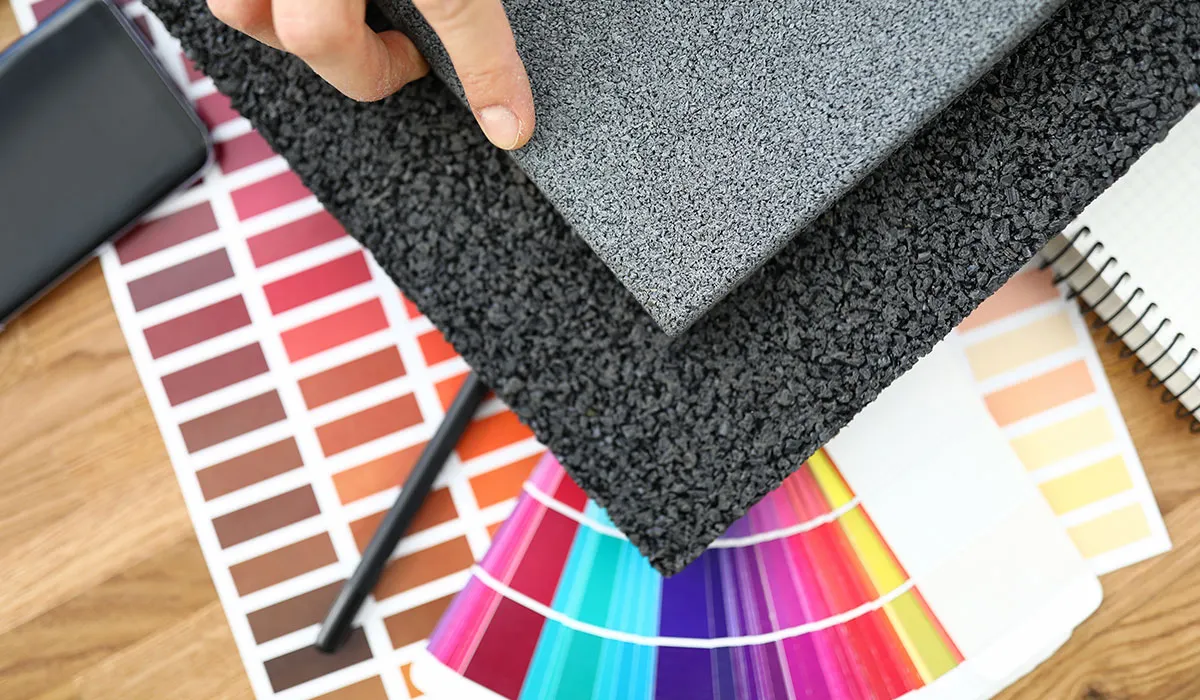
- Material Selection: Rubber tiles come in different thicknesses, colors, and patterns. Choosing the right material for your purpose is important for both aesthetic and functional reasons. For example, thicker, more durable tiles may be better suited for gyms.
- Preparing the Surface: The surface where the rubber tiles will be installed must be clean, level, and dry. Remove any old coverings, dirt, dust, and debris. If necessary, use filler materials to ensure the surface is even.

Placing the Tiles
Before permanently installing the tiles, lay them out to ensure your plan is correct. This step allows for adjustments if needed.
- Laying the Tiles: When placing the rubber tiles, it is important to align them properly. Ensure the tiles are laid out straight and parallel to achieve an aesthetically pleasing and functional result. Check for gaps or alignment errors as you fit the tiles together.
- Cutting and Fitting: In some areas, you may need to cut the rubber tiles. Use appropriate cutting tools to trim the tiles to fit around corners, edges, and fixed objects. Be cautious during cutting and carefully follow the cut lines.
- Trial Layout: Before gluing the tiles down, place them over the entire area for a trial layout. This allows you to spot any mistakes and fix them in advance. Once you are satisfied with the layout, proceed with the installation.
Adhesion and Installation
After positioning and aligning the rubber tiles, the next step is securing them with adhesive. This step prevents the tiles from shifting and ensures long-term durability.
- Adhesive Selection: It’s important to choose the right adhesive for rubber tiles. Use adhesives recommended by the manufacturer to ensure a strong bond between the tiles and the floor. Typically, strong adhesives specifically designed for rubber flooring are preferred.
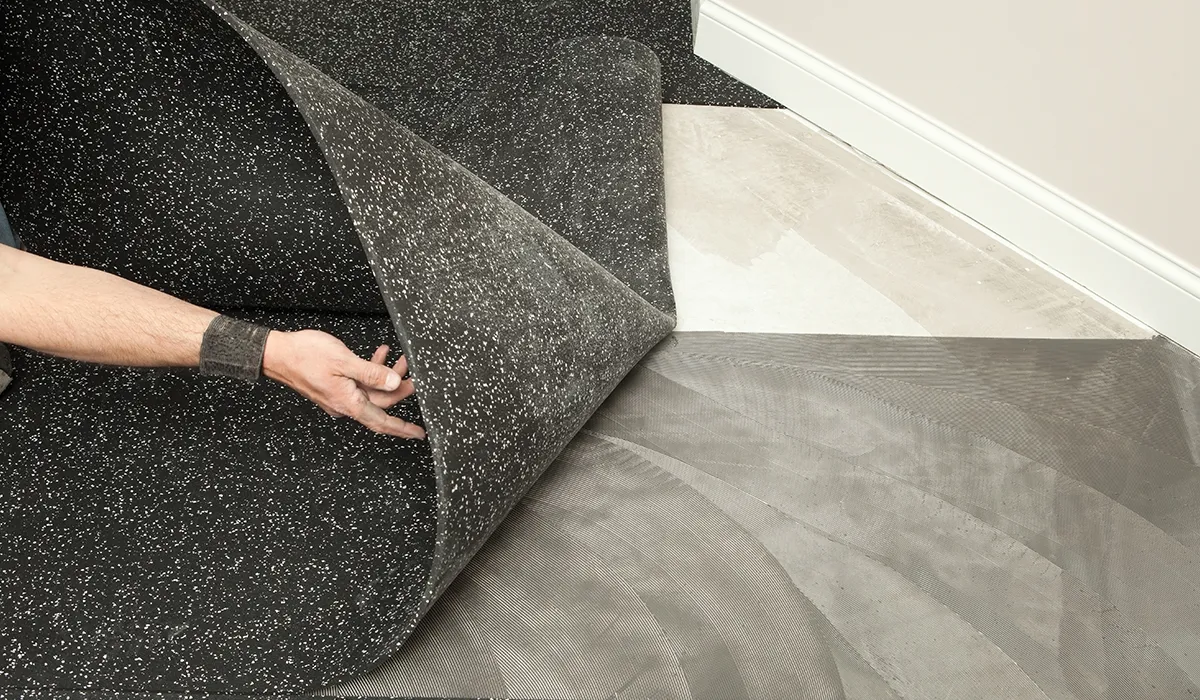
- Applying the Adhesive: Apply the adhesive to the surface in a thin layer. Use a notched trowel to spread the adhesive evenly. Be sure to follow the manufacturer's instructions and pay attention to the drying time.
- Securing the Tiles: Place the tiles on the adhesive and press them down lightly to secure them. Use a roller or a heavy object to roll over the tiles, ensuring proper contact between the adhesive and each tile. This helps the tiles stick firmly and prevents air pockets.

Final Touches and Maintenance
After installation, some finishing touches and maintenance steps are required to ensure the rubber tiles remain long-lasting and safe.
- Checking Edges and Corners: After installation, check that the edges and corners are securely in place. If necessary, use additional adhesive or edge profiles to fix them in place.
- Initial Cleaning: Once the adhesive has fully dried, clean the tiles with a damp cloth. This removes any dirt or dust that may have accumulated during installation. Avoid using abrasive cleaning materials during the first cleaning.
- Regular Maintenance: Regular maintenance is essential to keep rubber tiles in good condition. Sweep or vacuum the tiles regularly to remove dirt and dust. Additionally, mop with a damp cloth when necessary to maintain cleanliness.
Installing rubber tiles can be a quick and easy process with the right preparation and planning. By following the steps in this guide, you can install your rubber tiles safely and aesthetically. Proper placement and regular maintenance ensure a durable and secure flooring solution. Rubber tiles, which can be used in both indoor and outdoor spaces, are an ideal flooring option thanks to their durability and safety features.
